Docs menu
Moving an app from Railway
A walkthrough for moving a running Railway app to Primcloud with zero downtime.
On this page
Before you start#
You'll need a Primcloud account with GitHub connected (the Quickstart walks you through it) and the Railway CLI linked to your project (railway link), so you can read your variables.
A few things go by different names here:
| On Railway | On Primcloud |
|---|---|
| Project | Application |
| Service running your code | Pod formation |
| Replicas | Instances |
| Start command | A line in your Procfile |
| Pre-deploy command | The release line |
| Cron schedule | A scheduler process |
| Variables | Secrets |
railway ssh |
Tasks |
*.up.railway.app |
*.primcloud.app |
The guide follows one app, hack-the-planet, from start to finish: a web service, a worker service and a nightly cron service.
1. Write a Procfile from your services#
Primcloud doesn't read railway.json or railway.toml. Each service that runs your code becomes a line in a Procfile at the root of your repo, using its start command, and the web service's pre-deploy command becomes the release line:
release: perl bin/release.pl
web: perl bin/board.pl --port=$PORT
worker: ./bin/queued -d
Only the web line gets HTTP traffic, on the port in $PORT, so the service that serves your site becomes web, whatever it's called on Railway.
A custom build command you set on Railway doesn't carry over. The Customizing the build page for your language under Language Support shows where build steps go.
Note
On Standard, a service that builds from a Dockerfile on Railway builds from your repo's language files here. Pro and Team can build from a Dockerfile, as Plans shows.
2. Give your cron job a scheduler#
Primcloud has no cron schedule, so a cron service becomes a process that stays up and starts the job on time.
hack-the-planet runs perl bin/garbage.pl --purge at 0 3 * * *. Write a small bin/scheduler.pl with your language's cron library that runs the same command on the same schedule:
release: perl bin/release.pl
web: perl bin/board.pl --port=$PORT
worker: ./bin/queued -d
scheduler: perl bin/scheduler.pl
Railway's schedules are UTC, so run your scheduler in UTC too.
Important
Every instance of scheduler runs every job. Keep it at one instance when you turn it on in step 5.
3. Pull up your variables#
railway variable list --service web --kv
Run it for worker and your cron service too. Every process shares one set of secrets here, so a variable two services both use goes in once.
Leave PORT out, since Primcloud sets it for you. Leave Railway's own RAILWAY_* and RAILPACK_* variables out too, since Primcloud doesn't set or read them. If your code reads one, like RAILWAY_PUBLIC_DOMAIN, switch it to one of the variables Primcloud sets.
References like ${{ shared.API_KEY }} don't resolve here. Paste in the value they point to.
Warning
Railway never shows a sealed variable's value, in the dashboard or the CLI. Get it from its source, or issue a new one.
4. Import your repo#
From your applications list, hit Import Git Repository. Pick the repo, then on the Configure step choose your branch and region.
That Configure step also has a Secrets list. Add your variables there and they're saved before the first build.
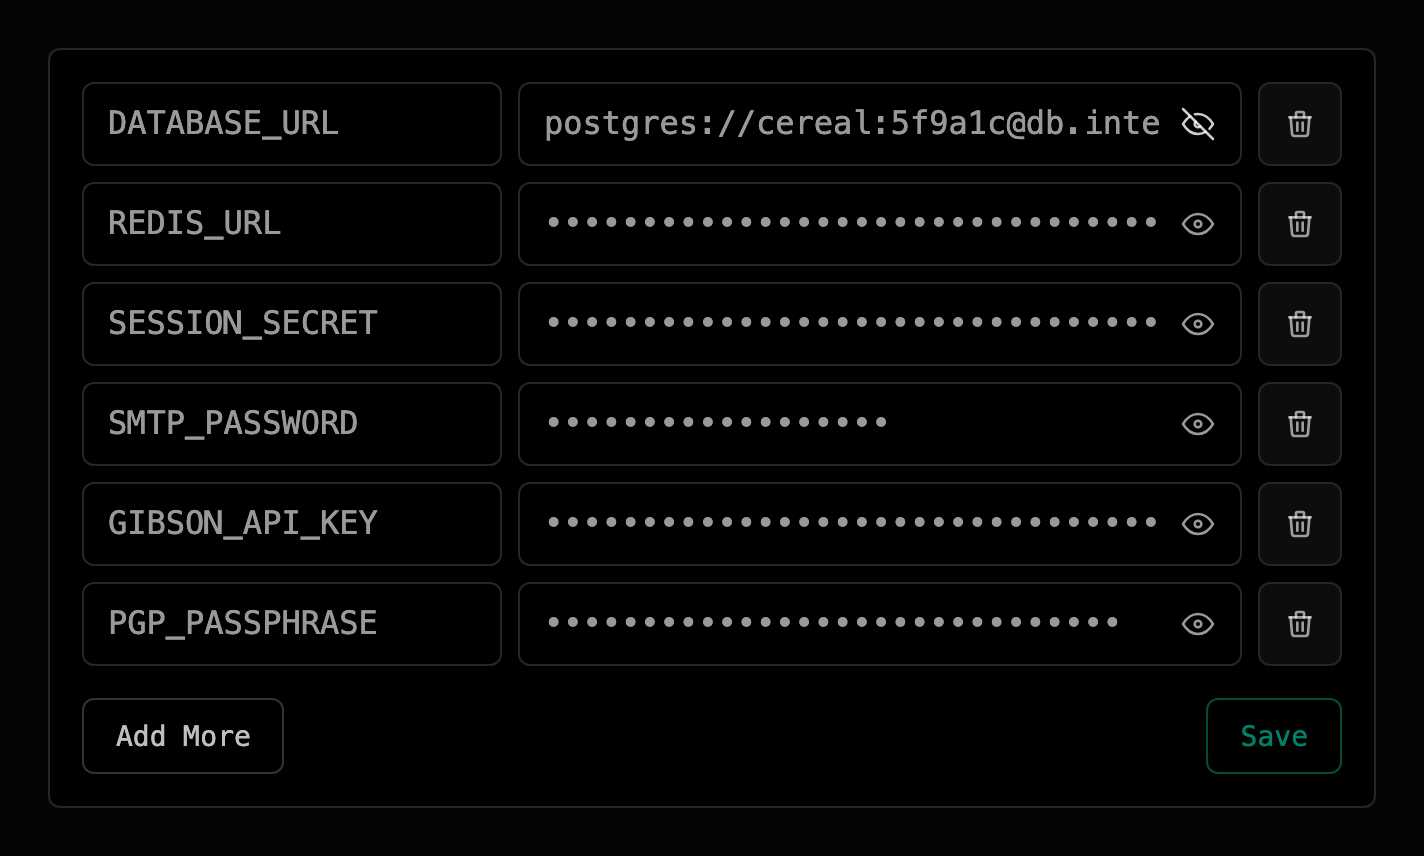
Check the commit and hit Import. The first deploy starts right away.
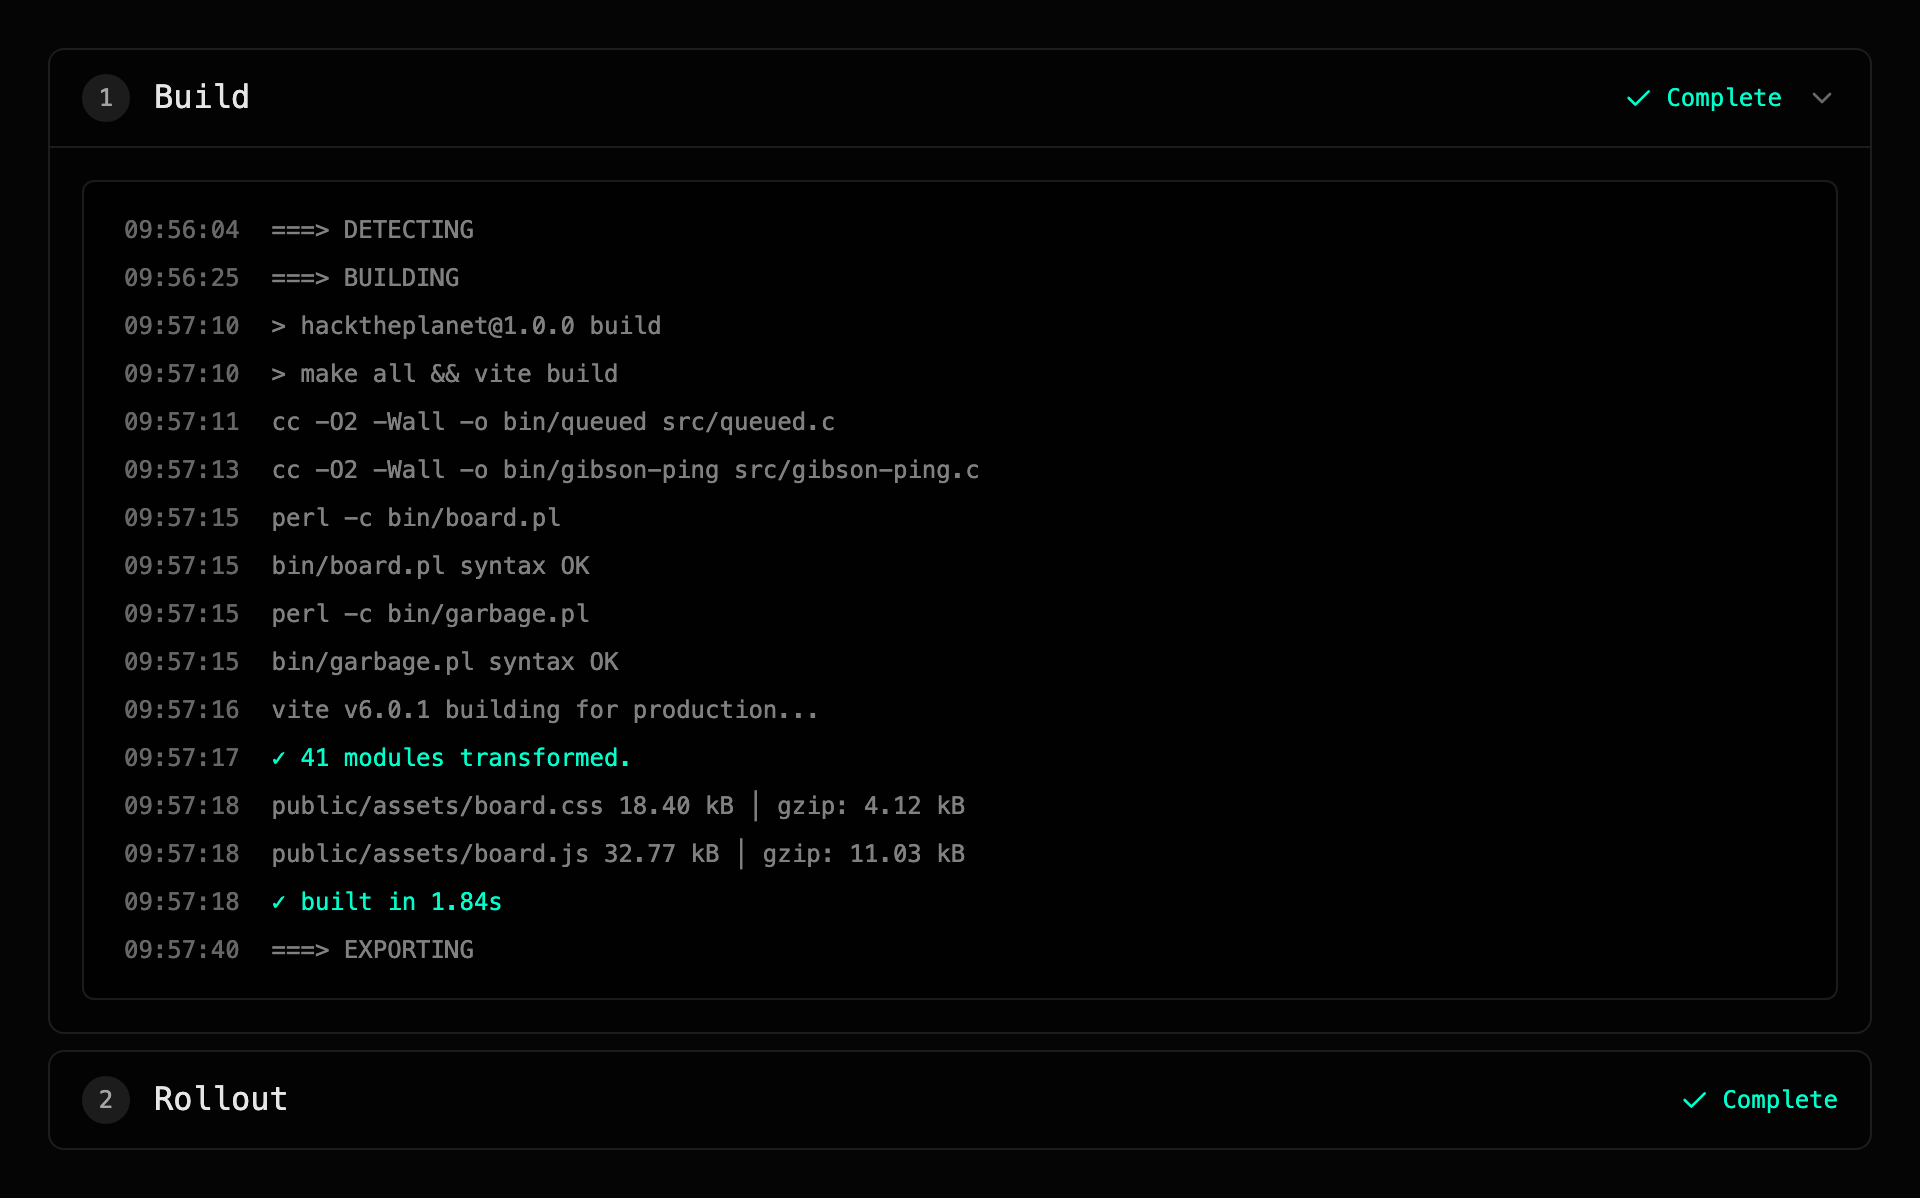
Once Rollout shows Complete, open your app at hack-the-planet-production.primcloud.app. Forgot a secret? Add it under Settings → Secrets and save. Once your app is running, saving redeploys it with the new value, no rebuild needed. If the first deploy failed, save the secret, then hit Redeploy on that deployment.
Warning
Pods don't keep files between restarts or deploys. If your app writes to a Railway volume, move that data into an object store before you move your domain.
5. Turn your workers on#
Important
After the first deploy, only web is running. Every other process starts at 0 instances, so worker and scheduler are off until you scale them up.
Open Pod Formations on your app's dashboard and expand a formation. Instances is your replica count. Formation Size is the memory and CPU each instance gets.
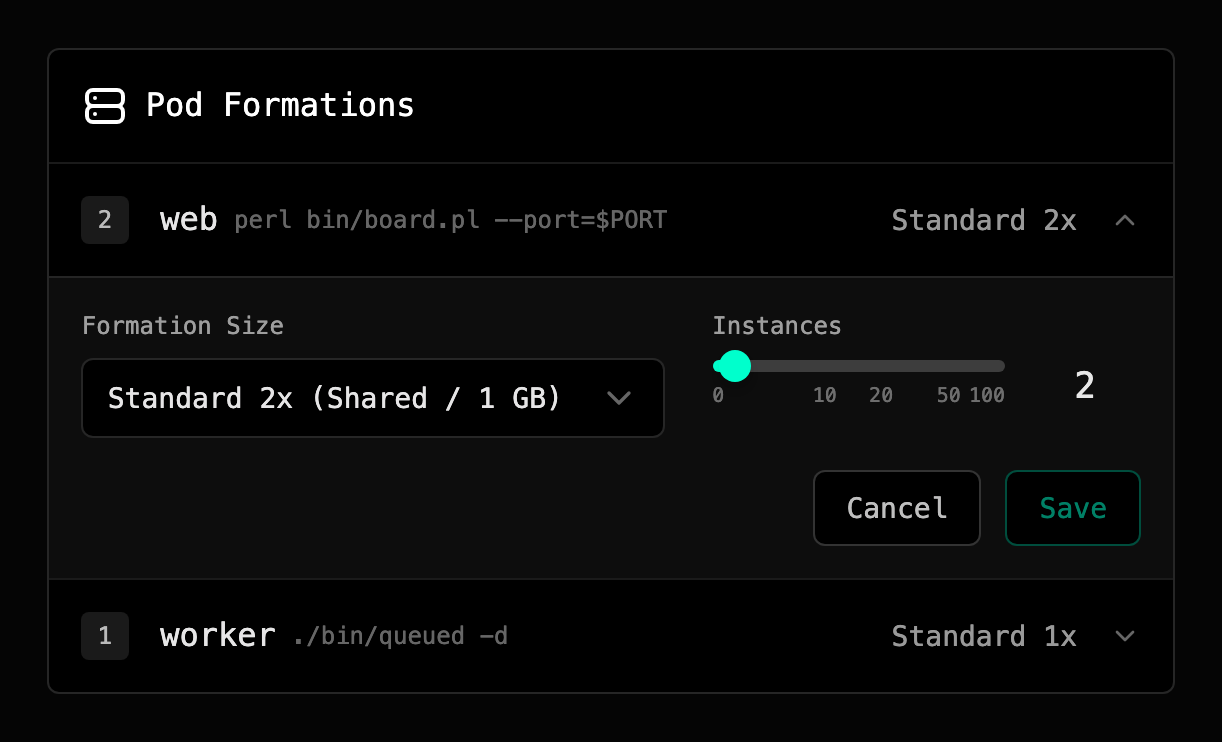
Everything starts on Standard 1x, our smallest size. Memory is a hard limit, so pick a size with at least as much memory as the service uses on Railway, which railway metrics --all --memory --since 7d shows. Scaling formations has the details.
6. Swap railway ssh for tasks#
Anything you'd run with railway ssh becomes a task. It runs your command on a fresh instance of your current build, with the same secrets as your app, and streams the output while it runs.
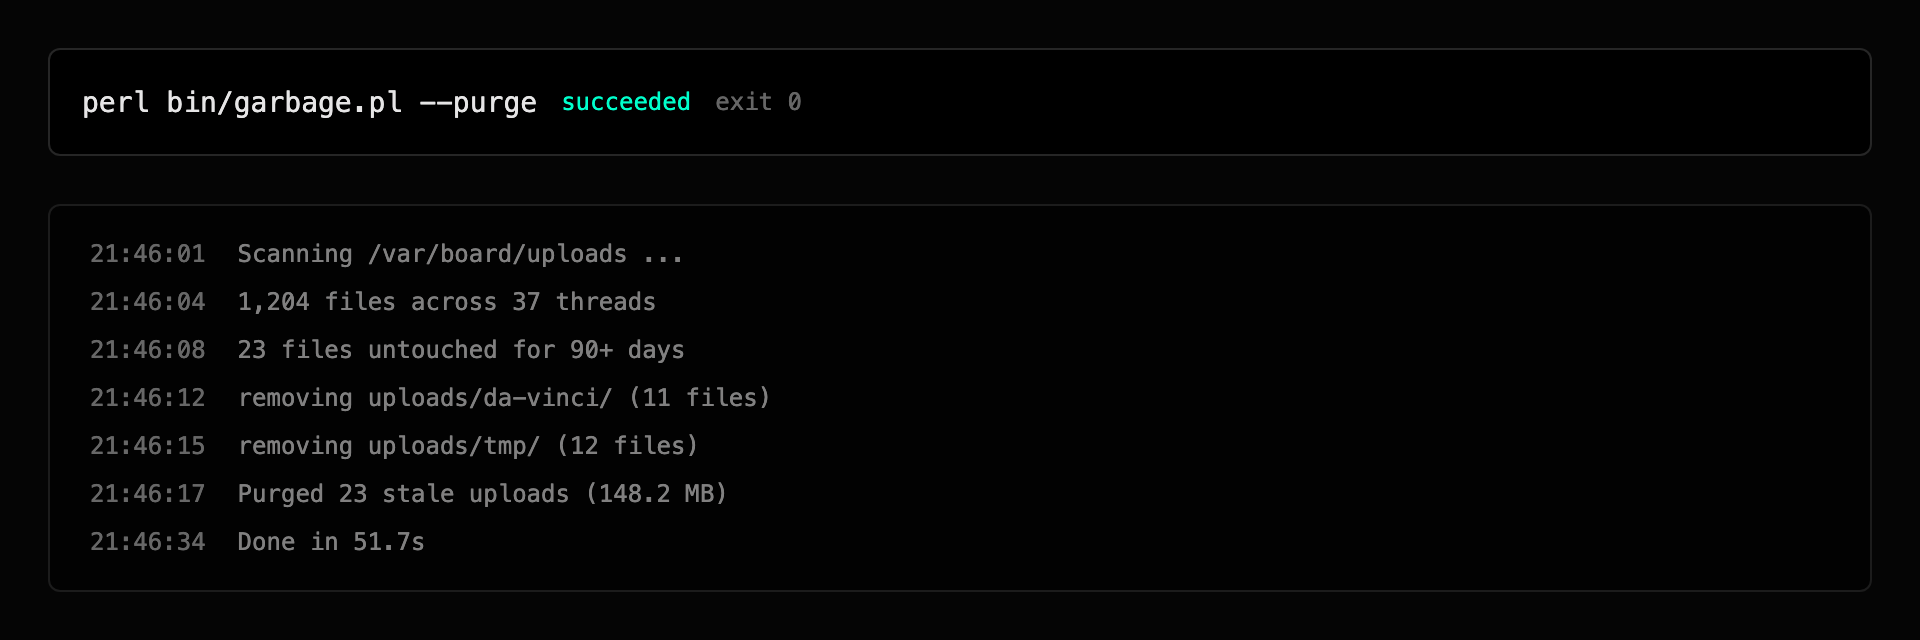
A task isn't an interactive shell. Give it a command and it runs until that command exits.
7. Move your domain#
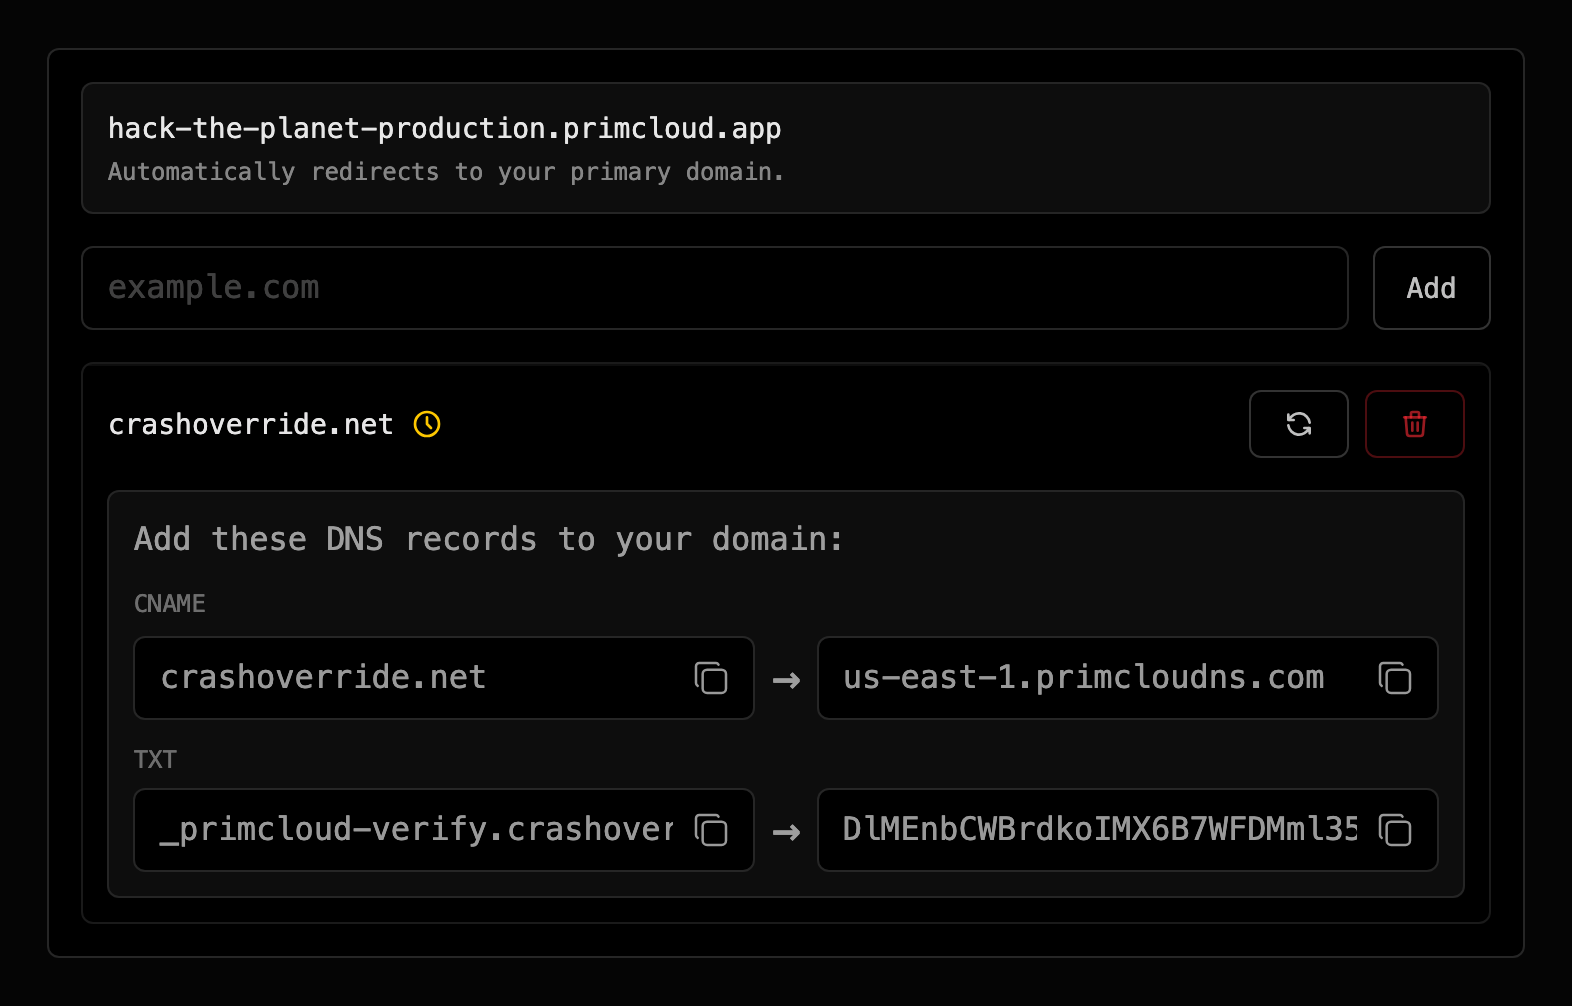
- Add your domain in your app's Settings. We'll show you the two DNS records to add, a CNAME and a TXT record.
- Add the TXT record at your DNS provider.
- Change your CNAME from Railway to the target we showed you. For a root domain like
example.com, use an ALIAS, ANAME or flattened CNAME; DNS setup explains why. - Wait for the domain to show Success. We keep checking DNS for up to 72 hours, and once it verifies, your app is served over HTTPS.
- Make it your primary domain. Your
primcloud.appURL then redirects to it.
8. Switch Railway off#
Delete your Railway project:
railway delete --project hack-the-planet